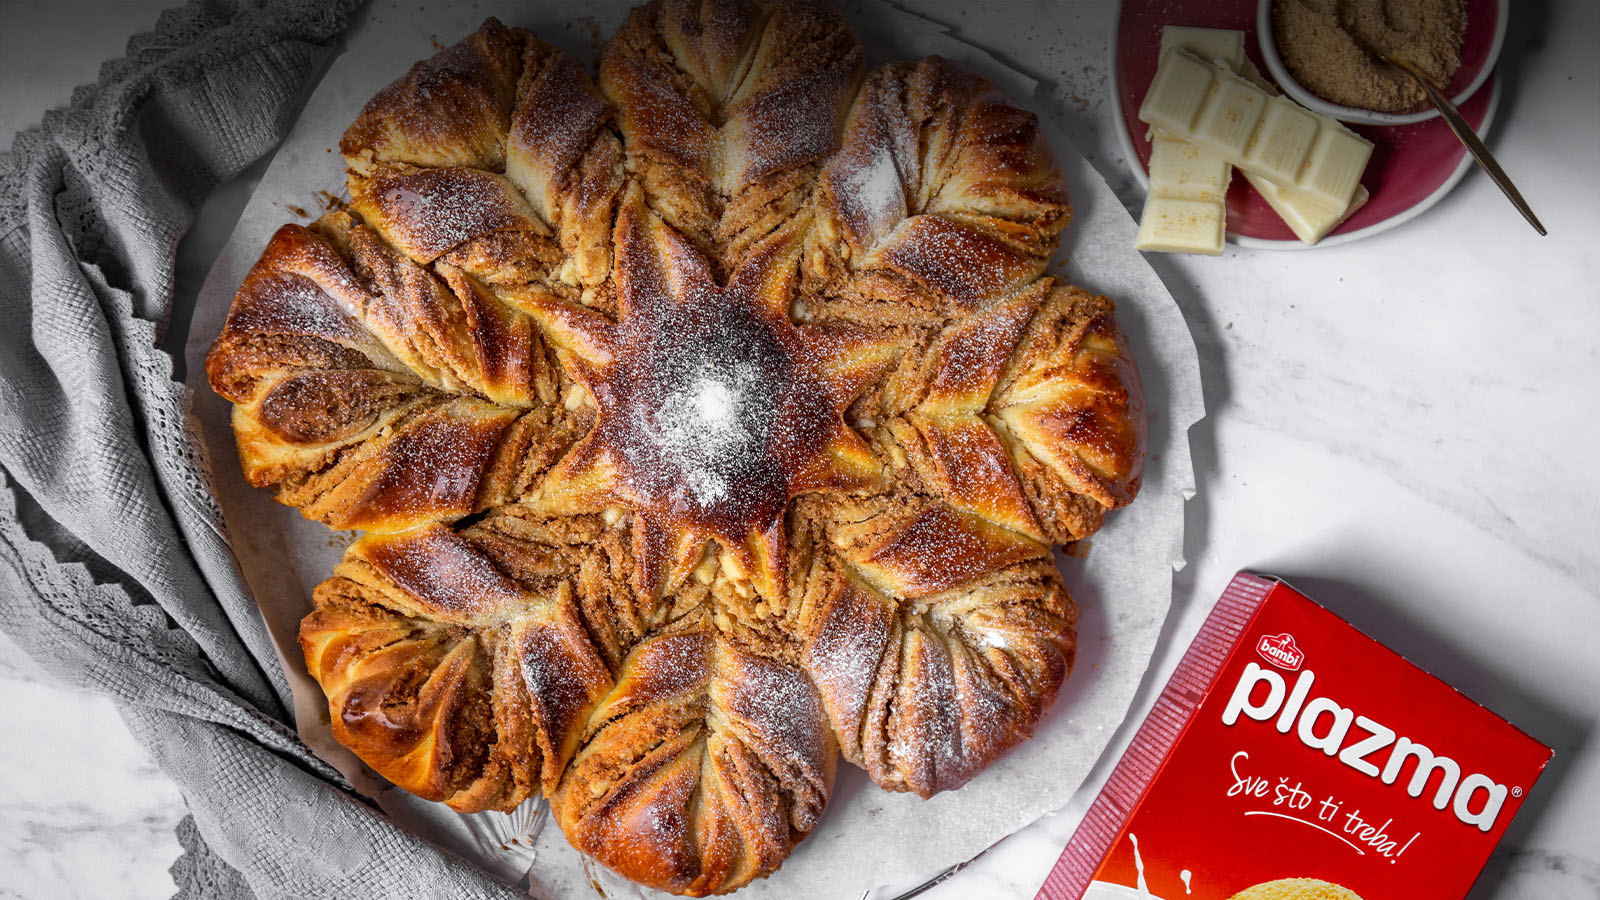
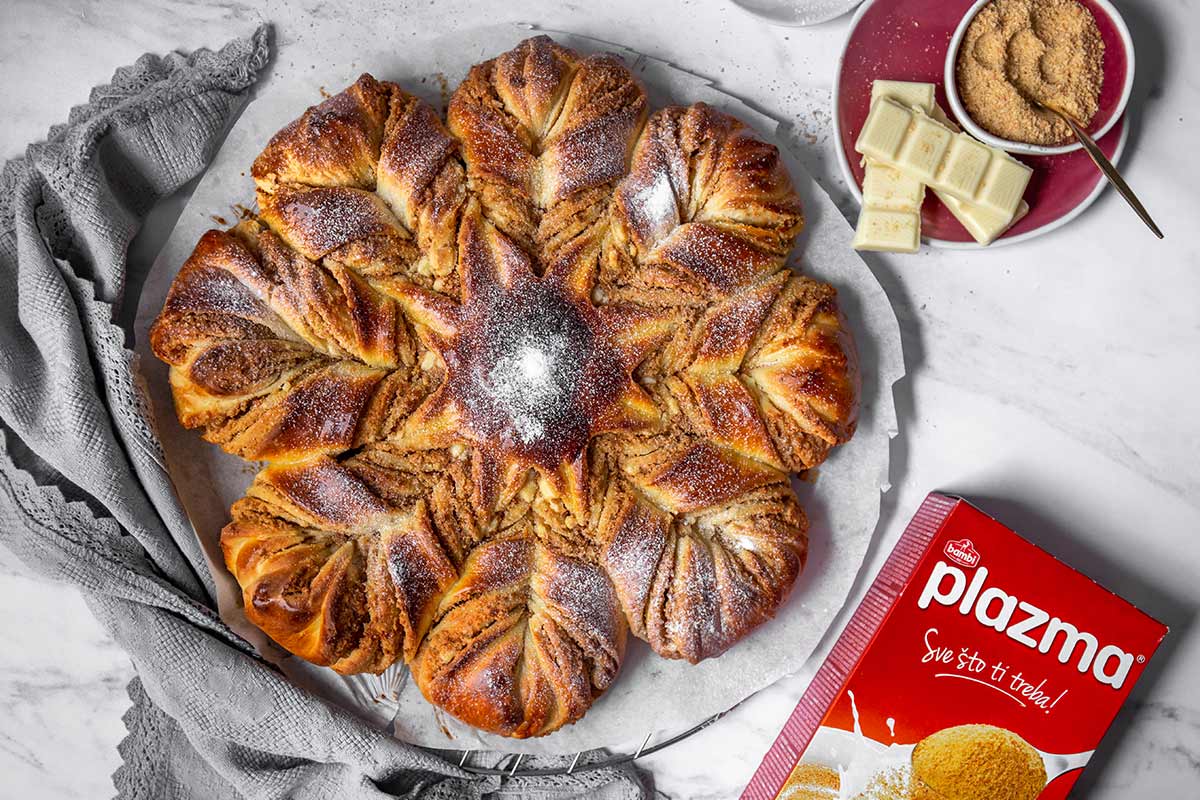
Starlike Pastry

Basic Information:
 Preparation Time: 4 h
 Size: 12
 Difficulty:
Ingredients:
400 g of flour
50 g sugar + 1 tablespoon sugar for yeast
1 vanilla sugar
2 teaspoons of dry yeast
130 ml of warm milk
2 eggs
50 g of cold butter, cut in dice
Filling:
100 g of softened butter
100 g of Ground Plazma
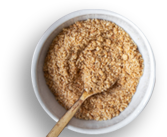
80 g of brown sugar
1 teaspoon cinnamon
100 g of white chocolate
1 egg yolk for coating
1. Step
It is best to knead the dough by a fixed mixer with a kneading hook. Add flour, sugar and vanilla sugar into the knead dish. Dry yeast and a tablespoon of sugar put into a small dish and sprinkle with warm milk, stir, cover with transparent foil and wait until the yeast starts to react. When it starts happening, pour it into the flour and add eggs. Knead the dough. When you get a compact ball of dough, add butter, insert one dice after another. Add the next dice only after the previous one has completely united with the dough. When you have added all butter, continue kneading the dough until it gets completely smooth under your palm. The dough will be somewhat sticky. Cover the dish with transparent foil and leave the dough in room temperature to double in size. Meanwhile, prepare the filling.
2. Step
To make the filling, mix softened butter, Ground Plazma, sugar, and cinnamon. Blend everything well in order to get a fine paste. Chop the white chocolate into small dice.
3. Step
Prepare a big baking tray and a sheet of baking paper. Put the swollen dough onto a floured surface. Divide it into four equal parts.
4. Step
Shape each part into a ball and leave them to rest about ten minutes. Spread the first ball of dough to a circle about 27 cm in diameter on the prepared baking paper. Coat the formed circle with a third of the filling and sprinkle it with a third of chopped white chocolate. On the floured surface, spread the other ball of dough into a circle of the same diameter, and cover the first circle of dough with it. Coat the second circle with the second third of the filling and sprinkle with the second third of chocolate. Repeat the same procedure with the third ball of dough, coat it with the rest of the filling and sprinkle with the rest of the chocolate. In the end, spread the fourth ball of dough into a circle and cover the already prepared circles of dough, which are on the paper. If needed, tuck in the ends nicely and correct the shape.
5. Step
Now you form the star. Put a glass, about 5 cm in diameter in the centre of the circle. Use a sharp knife to cut the dough around the glass into 16 parts/strips. Take two neighbouring strips and twist each one of them along its own axis twice, so that one strip is twisted clockwise, and the other one counter clockwise. Connect the ends of the twisted strips to get one arm of the star. Do the same with all other pairs of strips. Once you have formed the star, leave it in a warm place about thirty minutes to swell nicely.
6. Step
Before the star swells, heat the oven to 180⁰C. Beat the yolk lightly, coat the swollen star with it and put in the oven to bake. Bake the star 20-25 min, but its best that you monitor its colour: you can take the star out of the oven when it gets golden. Leave it to cool and serve warm. You can sprinkle some powdered sugar as desired.
7. Step
Your dessert is finished!
Author:
Ana V. Đurđević/Prstohvat soli

Have you tried this recipe?
If yes, take a picture and tag @plazma_zvanicna or use #plazmasticarnica

Simillar recipes


2026 Copyright | All rights reserved | Privacy Policy | Contact | Created by Webtise
Uspešno ste se prijavili za newsletter!

Some stories are sweeter when they're just yours!
Sign up to our Newsletter and get updates about Plazmastičarnica stories that we prepare weekly just for you!