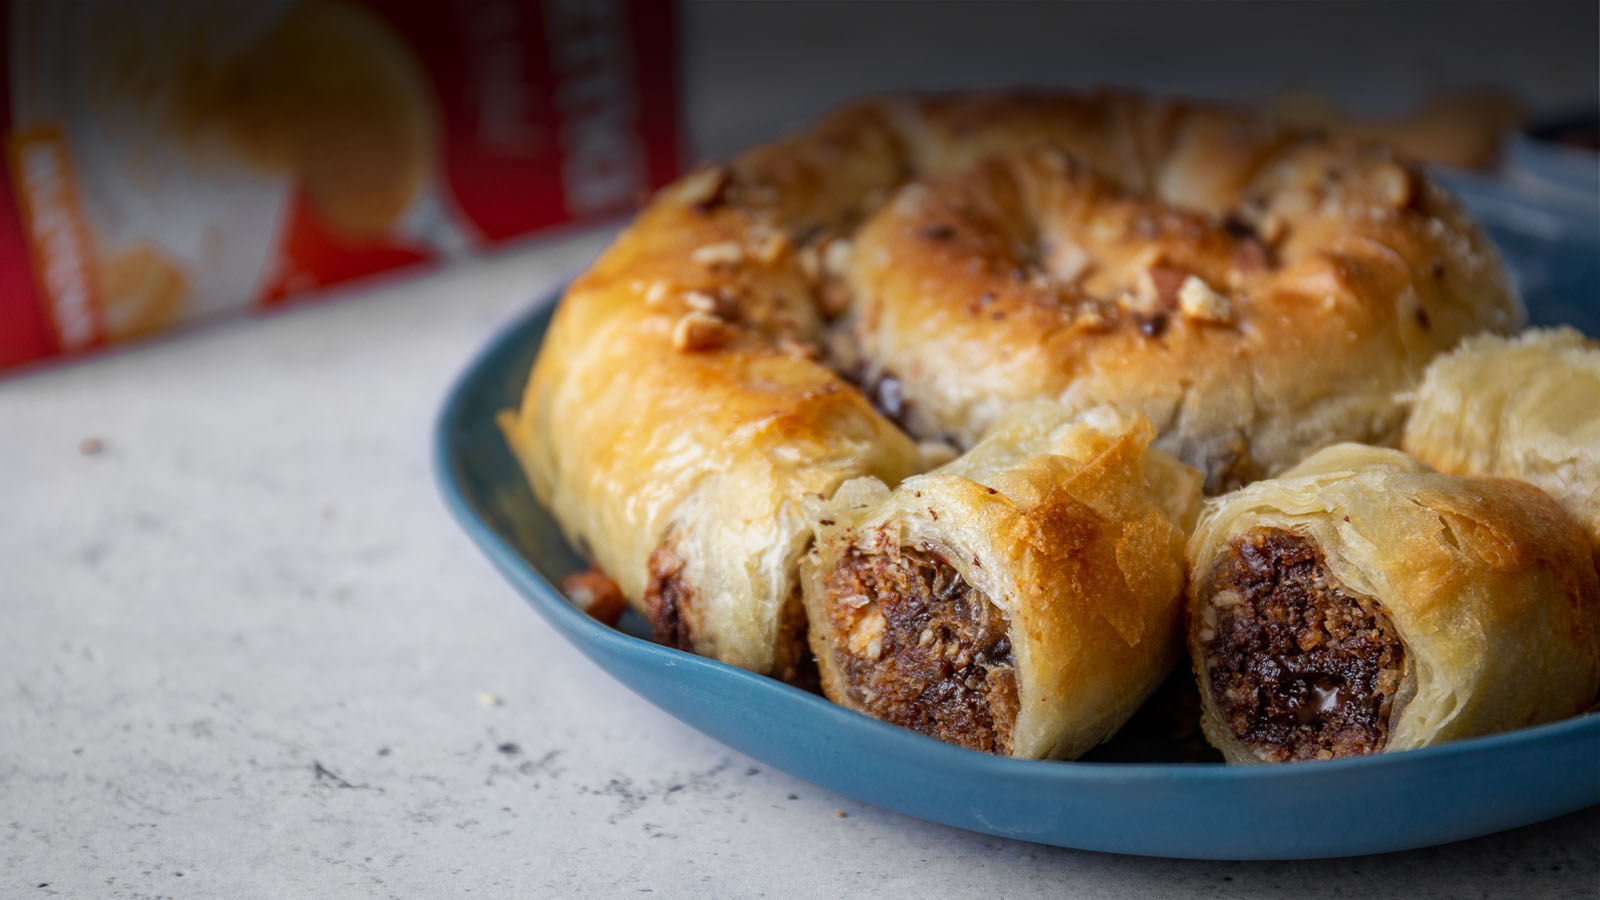
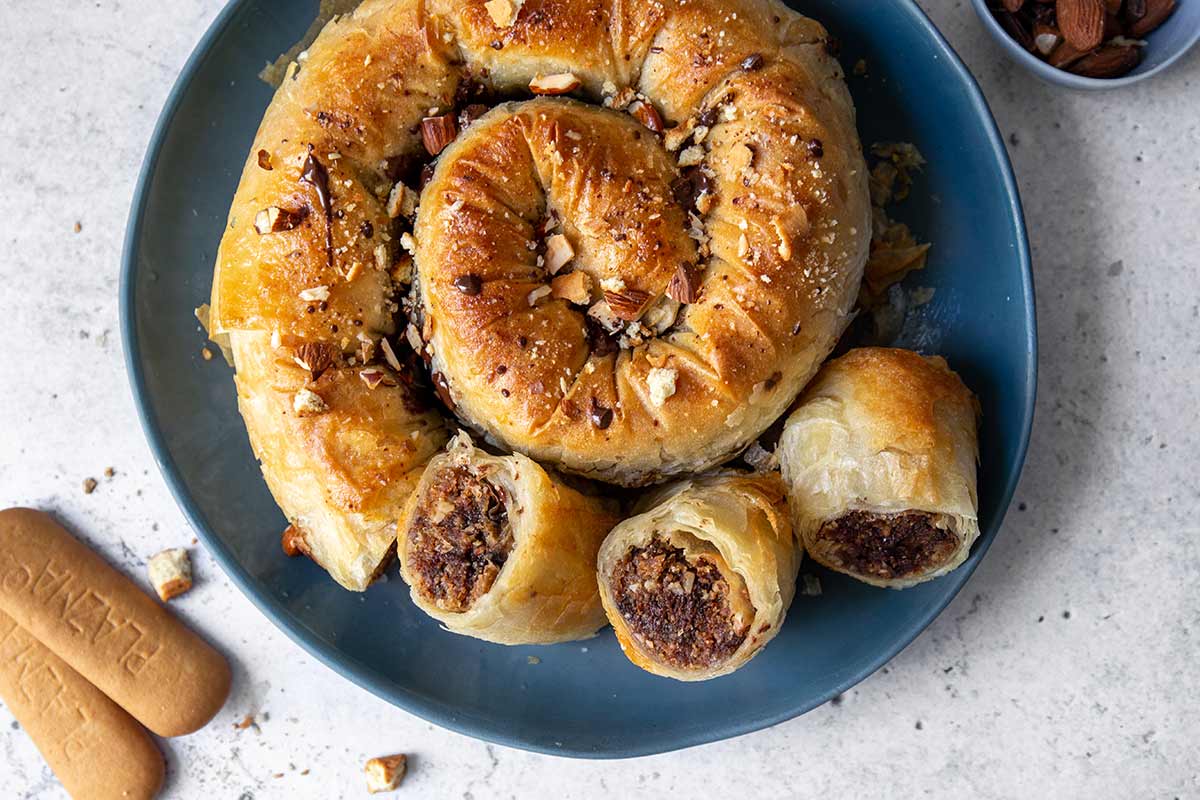
Plazma Pie

Basic Information:
 Preparation Time: 1 h
 Size: 12
 Difficulty:

Ingredients:
12 pie sheets
1 larger egg
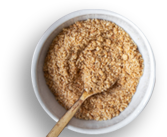
100 g of Ground Plazma
120 g of roasted almonds
100 g of softened butter
100 g of brown sugar
1 tablespoon of orange juice, as you wish
100 g of chocolate
100 g of butter for coating dough sheets
1. Step
Melt butter for coating the pie sheets and leave to cool. Heat the oven to 180⁰C. Prepare a round baking tray.
2. Step
Chop almonds in a multifunctional kitchen appliance and add Ground Plazma, softened butter, brown sugar, egg, orange juice, and blend all until you get a compact filling. If you think that it is too dry, add some more orange juice. Chop the chocolate into small cubes and add to the filling.
3. Step
It is best that you roll the pie on the table because you need a large working space. Place three rectangular sheets one next to the other, the shorter side of the sheets facing you, but arrange them in the way so that they overlap 3-4 cm.
4. Step
Coat the sheets with dissolved butter using a brush and then put three more sheets over, then coat these sheets with butter in the same way and repeat the procedure twice.
5. Step
The filling goes on the last row of sheets. Put it to the rim of the longer side, closer to yourself. You can make your hands wet with water to mould it easier to a long, thin wormlike shape
6. Step
Once you have arranged the filling, carefully roll in the pie into a spiral. If it happens that a sheet cracks somewhere, take a new sheet from the pack, tear off a part, glue it over the crack and coat with butter.
7. Step
The rolled in pie transfer to the baking paper, and then put into the round baking tray. Coat the pie generously with dissolved butter from all sides. Bake in the oven for about 25 min or until it gets a golden colour. Take it out of the oven, leave to cool, cut into pieces and serve.
8. Step
Your dessert is finished!
Author:
Ana V. Đurđević/Prstohvat soli

Have you tried this recipe?
If yes, take a picture and tag @plazma_zvanicna or use #plazmasticarnica

Simillar recipes









2026 Copyright | All rights reserved | Privacy Policy | Contact | Created by Webtise
Uspešno ste se prijavili za newsletter!

Some stories are sweeter when they're just yours!
Sign up to our Newsletter and get updates about Plazmastičarnica stories that we prepare weekly just for you!