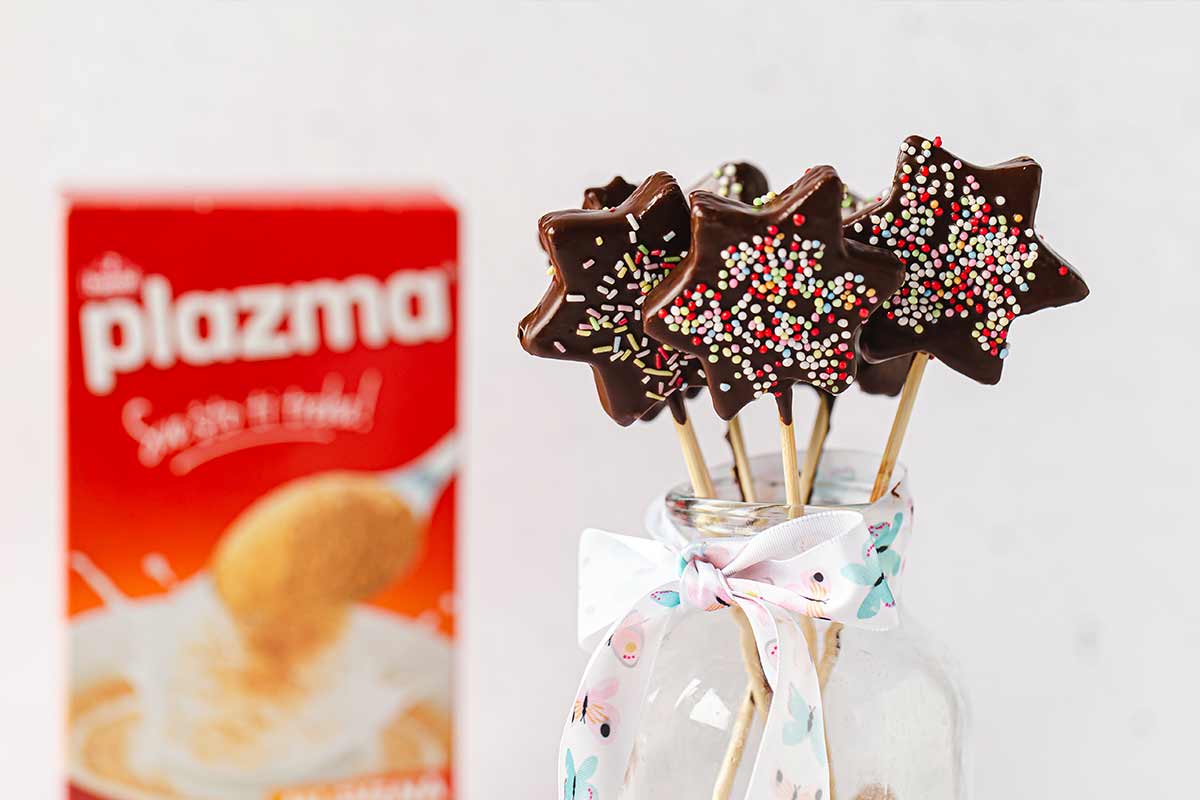
Star Cake Pops

Basic Information:
 Preparation Time: 30 min.
 Size: 20
 Difficulty:

Ingredients:
300 g of Ground Plazma
100 g of softened butter
100 ml of orange juice
50 g of chocolate
50 g of roasted hazelnuts
Glazing:
200 g of dark chocolate
5 tablespoons oil
1. Step
Weigh the Ground Plazma and finely chopped roasted hazelnuts in a bowl. Melt the chocolate in a steamer, then put it together with softened butter and orange juice add all to Ground Plazma. Mix all ingredients well to get a sticky, uniform mixture.
2. Step
Spread the mixture 8 mm to 1 cm thick on a piece of baking paper. Put in the freezer for about twenty minutes to get cool and hard. Then take it out of the freezer and cut out the stars with a small star-shaped mould. If the mixture has not yet hardened enough, it will stick to the mould and it will not maintain the shape. Arrange the formed stars on a piece of baking paper, then return to the freezer for about ten more minutes. You can form small balls from the rest of the mixture or, when softened, spread the remaining mixture again to make some more stars.
3. Step
While the stars are in the freezer, or being steamed or in a very low temperature, melt the chocolate with the oil and mix well to get a smooth mixture. Prepare the sticks for cake pops, as well as a piece of styrofoam into which you will stick them when they are on a stick.
4. Step
Take the hardened stars out of the freezer. Dip the stick into the melted chocolate and pierce the star. If, when piercing a star with a stick you notice that the stars have softened, put them back in the freezer a little more.
5. Step
Dip the hard stars on sticks into the melted chocolate completely, then immediately thrust the other end of the stick into the prepared styrofoam for the chocolate to become firm.
6. Step
While the chocolate is still soft, decorate further as desired
7. Step
Your dessert is finished!
Author:
Milkica Crevar/Mimi’s Kingdom

Have you tried this recipe?
If yes, take a picture and tag @plazma_zvanicna or use #plazmasticarnica

Simillar recipes









2026 Copyright | All rights reserved | Privacy Policy | Contact | Created by Webtise
Uspešno ste se prijavili za newsletter!

Some stories are sweeter when they're just yours!
Sign up to our Newsletter and get updates about Plazmastičarnica stories that we prepare weekly just for you!