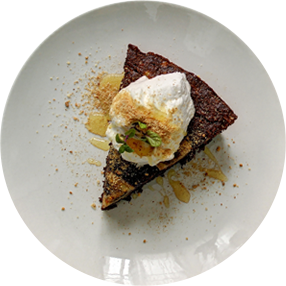
Plazma mini pumpkins

Basic Information:
 Preparation Time: 2h 30 min
 Size: 12
 Difficulty:
Ingredients:
10 g dry yeast
160 ml milk
50 g brown sugar
240 g pumpkin puree
1 egg
450 g flour
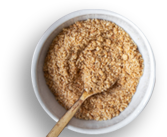
60 g Ground Plazma
1 teaspoon of cinnamon
80 g room temperature butter+ 20 g butter for coating
Ingredients for the filling:
100 g butter
2 egg yolks
110 g crystal sugar
200 g cream cheese
250 g Ground Plazma
1. Step
Separate 50 ml of milk in a larger bowl, then add dry yeast and half a teaspoon of brown sugar. Leave for 5 min to activate the yeast.
2. Step
Add the rest of the milk, brown sugar, pumpkin puree and the egg to the activated yeast.
3. Step
Add Ground Plazma and flour and start kneading the dough.
4. Step
When the dough starts to combine add butter, a little at a time, until you have used it all.
5. Step
Knead the dough until it is smooth.
6. Step
Grease a larger bowl with oil, place the dough in it, cover with a plastic wrap, wrap it in a cloth, then leave the dough in a warm place to rise for 1h.
7. Step
While the dough is rising prepare the filling by mixing the ingredients and combining them well.
8. Step
After the dough has risen, knead it again and divide into 12 balls.
9. Step
Flatten each ball on a floured surface, transfer it to your palm, add a tablespoon of the filling, then close the dough to form a ball again.
10. Step
Cut 12 pieces of twine, each about 30 cm long.
11. Step
Create mini pumpkins by placing the twine on top of a ball, then turning the ball. Cross the two ends of the twine to form a cross, and repeat the process until you have 8 small ‘sections’ of the mini pumpkin. Trim any excess twine. Repeat the process with each ball. Don’t tighten the twine too much to prevent the dough from cracking during baking.
12. Step
Place the pumpkins on a baking tray, cover with a cloth, and leave them for another half an hour to rise.
13. Step
After half an hour, preheat the oven to 180°C and bake for 25-30 until they turn golden.
14. Step
Leave the pumpkins for 15 min to cool, then remove the twine.
15. Step
Coat with butter and enjoy.
Author:
Plazma

Have you tried this recipe?
If yes, take a picture and tag @plazma_zvanicna or use #plazmasticarnica

Simillar recipes









2026 Copyright | All rights reserved | Privacy Policy | Contact | Created by Webtise
Uspešno ste se prijavili za newsletter!

Some stories are sweeter when they're just yours!
Sign up to our Newsletter and get updates about Plazmastičarnica stories that we prepare weekly just for you!